Reese's Peanut Butter Dessert Cups
Highlighted under: Easy Baking Recipes
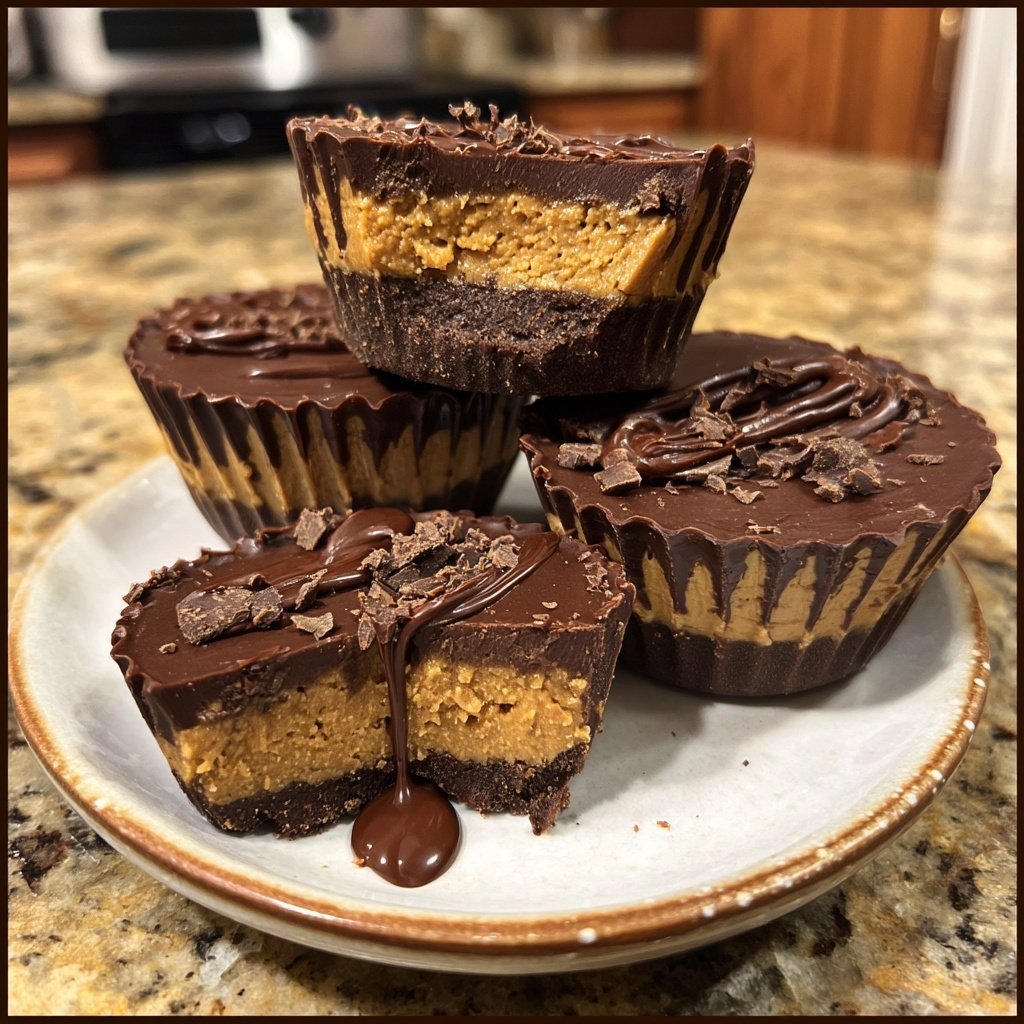
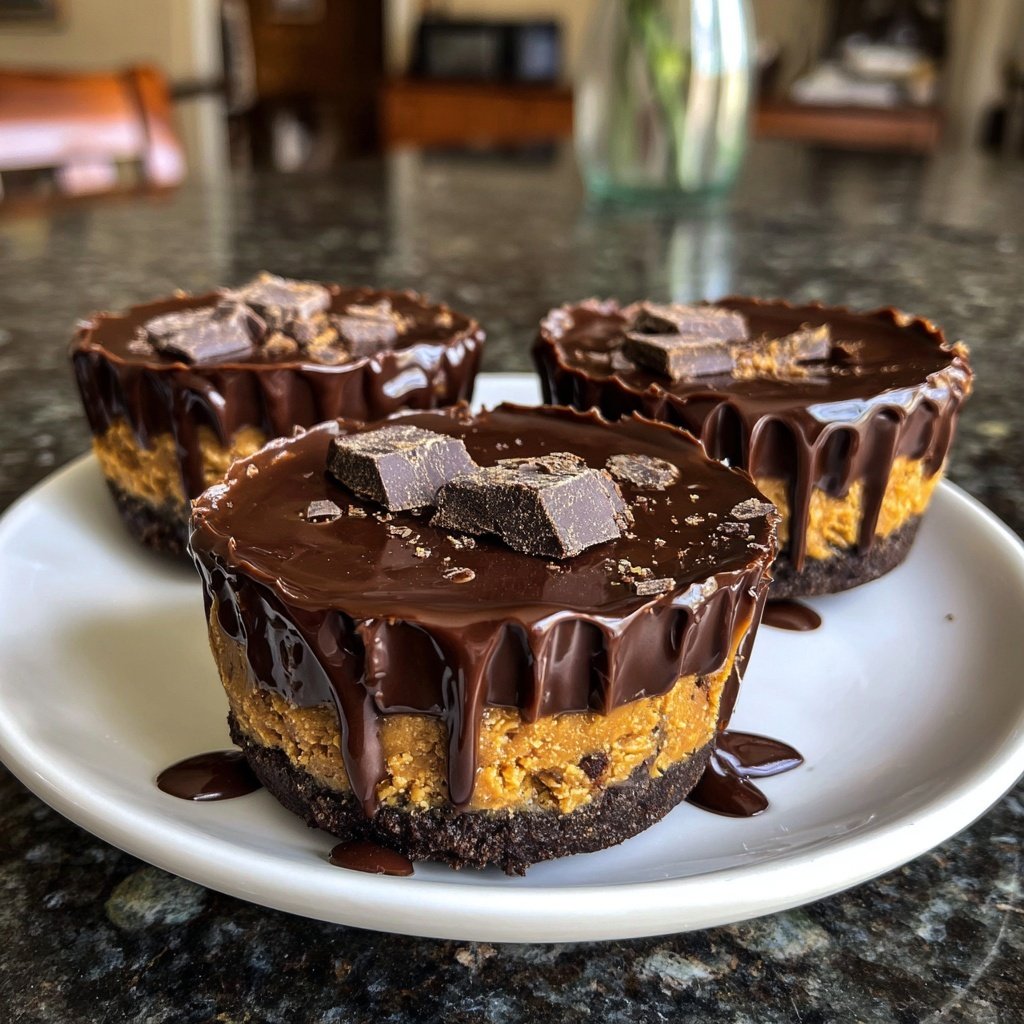
I absolutely love making Reese's Peanut Butter Dessert Cups because they bring a taste of nostalgia while being incredibly easy to whip up at home. The rich combination of chocolate and creamy peanut butter fills me with joy, and each bite is a delightful melty experience. Whether I'm making them for a party or just indulging myself, these dessert cups never fail to impress. Plus, they require minimal ingredients and can be sprinkled with a touch of sea salt for an extra layer of flavor!
When I first made these Reese's Peanut Butter Dessert Cups, I was amazed at how simple yet delicious they turned out. The balance of chocolate and peanut butter is simply perfect, evoking childhood memories with every bite. I’ve experimented with different types of chocolate, and I found using semi-sweet chocolate creates a delightful contrast with the sweet peanut butter filling.
What truly makes these dessert cups special is the ease of preparation. I recommend using silicone molds for a hassle-free release, leaving the cups looking beautiful for any occasion. A little sprinkle of flaky sea salt on top elevates the flavor even further, making these treats irresistible!
Why You'll Love These Dessert Cups
- Decadent layers of smooth peanut butter and rich chocolate
- Customizable toppings like sea salt or crushed nuts
- Perfect for sharing at gatherings or a sweet treat for yourself
Tips for Melting Chocolate
When melting chocolate chips, it's essential to do so gently to avoid seizing. Use a microwave-safe bowl and heat the chocolate in 30-second intervals, stirring each time until it reaches a smooth, glossy consistency. If the chocolate begins to thicken or harden, you can revive it by adding a teaspoon of coconut oil or vegetable shortening, which will help achieve the desired pourable texture without compromising flavor.
Alternatively, if you prefer to use a double boiler, fill the bottom pot with water, making sure it doesn't touch the top bowl. This method guarantees even heat distribution, allowing the chocolate to melt without the risk of burning. Be cautious to ensure that no steam or water gets into the chocolate, as this can cause it to seize.
Perfecting the Peanut Butter Mixture
Choosing the right peanut butter is crucial for the filling's texture. I recommend using creamy peanut butter with minimal ingredients—just peanuts and salt is ideal. Avoid natural peanut butters with oil separation, as they can be too runny for this recipe. For a fun twist, you might experiment with flavored peanut butters, like honey or chocolate, to elevate the taste of your dessert cups.
Whisk the peanut butter mixture until it's smooth and well combined, as this ensures a uniform texture that's easy to spoon into the chocolate-lined cups. If you'd like to reduce sweetness or adjust the consistency, consider adding a splash of milk or a dash of maple syrup. The goal is a thick yet spreadable filling that retains its shape when filled.
Storage and Serving Suggestions
These dessert cups can be stored in an airtight container for up to a week in the refrigerator. If you'd like to enjoy them later, consider freezing them. Just place the cups in a single layer on a parchment-lined tray, freeze until solid, and then transfer them to a freezer bag. They can be enjoyed straight from the freezer for a refreshing treat or thawed at room temperature for a few minutes before serving.
For an extra touch when serving, you might drizzle some melted chocolate on top or dust the cups with crushed nuts for added crunch. They make a perfect addition to dessert platters or as a sweet companion to coffee after dinner. If you’re feeling adventurous, try adding a layer of crushed cookies at the bottom of the chocolate cups for an interesting texture.
Ingredients
Ingredients
For the Dessert Cups
- 1 cup semi-sweet chocolate chips
- 1/2 cup creamy peanut butter
- 1/4 cup powdered sugar
- 1 teaspoon vanilla extract
- 1/4 teaspoon salt
- Flaky sea salt (for garnish, optional)
Instructions
Instructions
Prepare the Molds
Begin by lining a muffin tin with silicone cupcake liners for easy removal later.
Melt the Chocolate
In a microwave-safe bowl, melt the chocolate chips in 30-second intervals, stirring in between until smooth.
Coat the Molds
Using a spoon, scoop a small amount of melted chocolate into each liner, ensuring the bottom is well-covered.
Chill
Place the molds in the refrigerator for about 10 minutes to allow the chocolate to harden.
Prepare the Peanut Butter Filling
In a separate bowl, whisk together the peanut butter, powdered sugar, vanilla extract, and salt until smooth.
Fill the Cups
Remove the molds from the fridge and spoon the peanut butter mixture into each chocolate-lined liner.
Top with Chocolate
Pour the remaining melted chocolate over the filled cups, ensuring they are completely covered.
Final Chill
Return the molds to the refrigerator for another 10-15 minutes until fully set.
Serve
Once set, carefully remove the dessert cups from the silicone liners and sprinkle with flaky sea salt if desired.
Pro Tips
- For an extra crunch, consider adding crushed peanuts to the peanut butter filling or drizzling the cups with melted white chocolate.
Ingredient Substitutions
If you're looking to make these dessert cups a bit healthier or cater to dietary restrictions, there are various substitutions you can make. For a dairy-free version, opt for dairy-free chocolate chips and natural peanut butter without added sugars or oils. Almond butter or sunbutter can also be used in place of peanut butter for those with nut allergies, providing a different yet delicious flavor that complements the chocolate.
To reduce the sugar content, you might swap the powdered sugar with powdered erythritol or another sugar alternative, which will maintain the creamy texture without the added calories. Just be mindful of adjusting the quantities as some substitutes are sweeter than regular sugar.
Troubleshooting Common Issues
If your chocolate doesn't harden properly after chilling, it might have been over-heated or water could have contaminated it. To remedy this, try placing the dessert cups back in the refrigerator for a little longer, checking at intervals until they are set firm. If you notice a grainy texture in the chocolate or filling, this typically means the chocolate was overheated; next time, reduce the heating time and stir more frequently.
Another issue that could arise is difficulty in removing the dessert cups from the liners. If you're using silicone liners, make sure they're sufficiently greased with a little cooking spray before adding the chocolate. For standard muffin tin liners, ensure that the chocolate coat is thick enough to form a solid shell, as a thin layer may stick more easily.
Creative Flavor Variations
These dessert cups are incredibly versatile! For a minty twist, consider adding a few drops of peppermint extract to the peanut butter mixture. Alternatively, swirl in some chopped chocolate-covered pretzels for a delightful sweet-and-salty experience. I love experimenting with different flavors such as coconut extract or even a bit of espresso powder in the chocolate for an unexpected depth.
If you're feeling adventurous, try layering the dessert cups with cookie crumbs or graham cracker bits between the chocolate and peanut butter layers. This adds an extra crunch and a hint of nostalgia reminiscent of classic desserts. Another fun idea is to drizzle caramel sauce on top before serving for an even richer flavor.
Questions About Recipes
→ Can I use natural peanut butter instead of creamy?
Yes, but keep in mind that natural peanut butter may be oilier, which can affect the texture of the filling.
→ How do I store these dessert cups?
Store them in an airtight container in the fridge for up to one week.
→ Can I freeze the dessert cups?
Yes! They freeze well. Just make sure to wrap them tightly in plastic before freezing.
→ What can I substitute for the chocolate chips?
You can use milk chocolate or dark chocolate chips based on your preference.
Reese's Peanut Butter Dessert Cups
Created by: The Cookcraftdaily Team
Recipe Type: Easy Baking Recipes
Skill Level: Beginner
Final Quantity: 12 cups
What You'll Need
For the Dessert Cups
- 1 cup semi-sweet chocolate chips
- 1/2 cup creamy peanut butter
- 1/4 cup powdered sugar
- 1 teaspoon vanilla extract
- 1/4 teaspoon salt
- Flaky sea salt (for garnish, optional)
How-To Steps
Begin by lining a muffin tin with silicone cupcake liners for easy removal later.
In a microwave-safe bowl, melt the chocolate chips in 30-second intervals, stirring in between until smooth.
Using a spoon, scoop a small amount of melted chocolate into each liner, ensuring the bottom is well-covered.
Place the molds in the refrigerator for about 10 minutes to allow the chocolate to harden.
In a separate bowl, whisk together the peanut butter, powdered sugar, vanilla extract, and salt until smooth.
Remove the molds from the fridge and spoon the peanut butter mixture into each chocolate-lined liner.
Pour the remaining melted chocolate over the filled cups, ensuring they are completely covered.
Return the molds to the refrigerator for another 10-15 minutes until fully set.
Once set, carefully remove the dessert cups from the silicone liners and sprinkle with flaky sea salt if desired.
Extra Tips
- For an extra crunch, consider adding crushed peanuts to the peanut butter filling or drizzling the cups with melted white chocolate.
Nutritional Breakdown (Per Serving)
- Calories: 200 kcal
- Total Fat: 14g
- Saturated Fat: 5g
- Cholesterol: 0mg
- Sodium: 90mg
- Total Carbohydrates: 18g
- Dietary Fiber: 1g
- Sugars: 10g
- Protein: 4g