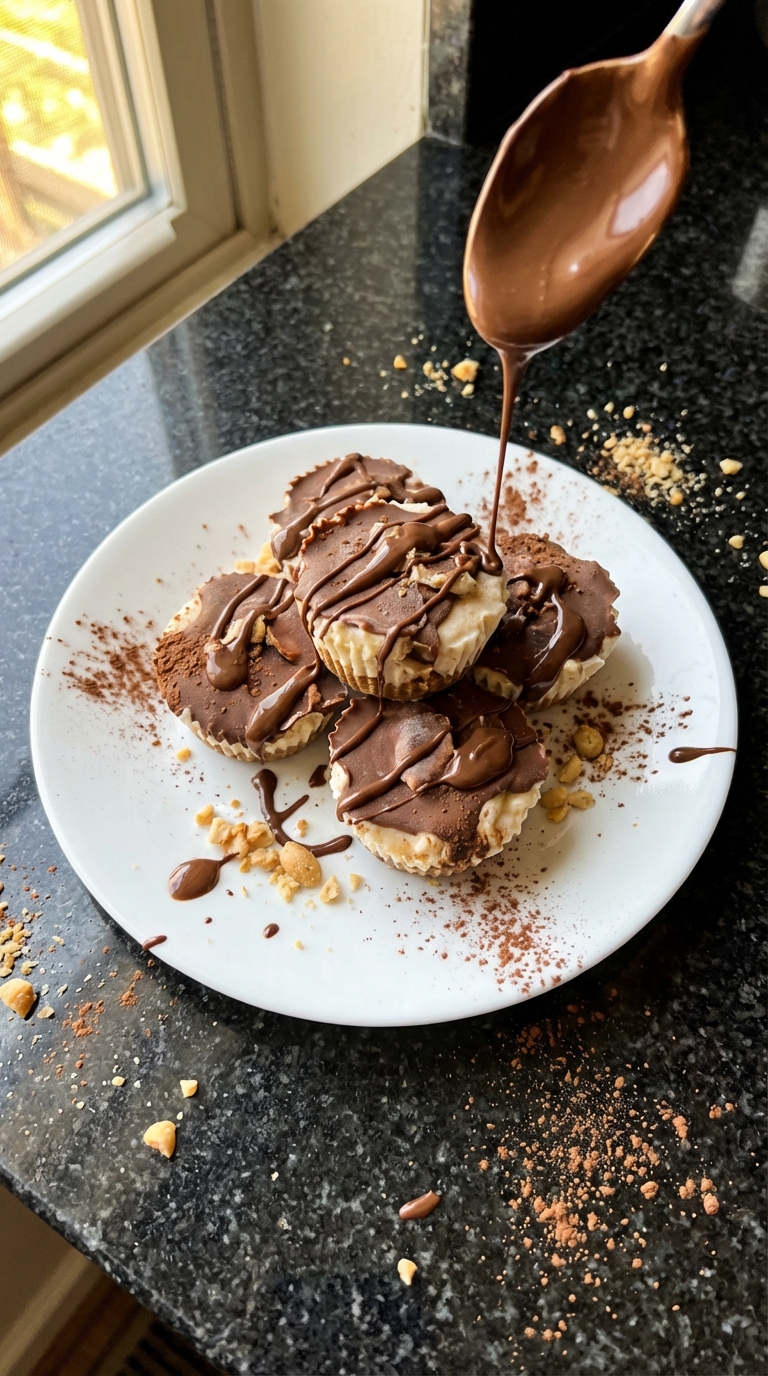
Frozen Yogurt Peanut Butter Cups
Highlighted under: Easy Baking Recipes
I love whipping up these Frozen Yogurt Peanut Butter Cups for a delightful treat that feels both indulgent and nutritious. With a smooth and creamy yogurt base combined with rich peanut butter, they provide a perfect balance of flavors. The best part is that they’re incredibly easy to make and require minimal ingredients, making them my go-to dessert for any occasion. Whether it’s a sunny day or a cozy night in, these cups are always a hit with family and friends!
When I first experimented with these Frozen Yogurt Peanut Butter Cups, I wasn't expecting such an explosion of flavor. The creamy consistency of the yogurt combined with the nutty peanut butter creates a delightful treat that rivals any store-bought option. After a few tries, I realized allowing them to freeze longer really enhances their flavor and texture, and the little extra wait is completely worth it!
One specific detail I've learned is to use a silicone muffin tray for easier removal once they’re set. It’s also a fun way to experiment with different flavors by adding in fruits or chocolate chips. Each variation excites me, proving these cups are as versatile as they are delicious!
Why You'll Love This Recipe
- Creamy yogurt that pairs perfectly with sweet peanut butter.
- Easy to customize with mix-ins like chocolate or fruit.
- A guilt-free dessert option that's refreshing and satisfying.
Perfecting Your Yogurt Base
The foundation of these Frozen Yogurt Peanut Butter Cups lies in the Greek yogurt. This ingredient not only gives the dessert its creamy texture but also adds a protein boost. Ensure you're using full-fat Greek yogurt for the best mouthfeel; non-fat varieties can lead to a less satisfying texture. If you're aiming for a lighter option, you might experiment with low-fat yogurt, but keep in mind it may affect the creaminess slightly.
For the smoothest result, it's essential to blend the yogurt and peanut butter thoroughly until the mixture is glossy and uniform. If you find the peanut butter is too thick, a brief microwave warming (15-20 seconds) can help soften it and make blending easier. Just be sure to let it cool slightly before mixing it with the yogurt to avoid any unwanted cooking or curdling.
Freezing Tips for the Best Texture
When it comes to freezing your yogurt cups, timing is crucial. Aim to leave them in the freezer for at least 4-5 hours for optimal consistency; however, overnight is recommended if you want them to be fully solid. This helps achieve that satisfying crunch when you bite into them, followed by a creamy melt-in-your-mouth experience. It's important to keep the cups flat while freezing to maintain their shape.
For easier removal, consider lightly spraying your silicone muffin tray with non-stick cooking spray before adding the mixture. This small step can prevent any sticking issues. If you're using regular muffin tins, you may want to line them with paper liners to avoid sticking. Just be aware that paper can slightly change the texture when enjoyed.
Variations and Customizations
Feel free to get creative with your toppings! Adding crushed nuts or chocolate chips not only enhances the visual appeal but can also introduce delightful crunch and flavor contrasts. You might want to consider using dark chocolate chips for a richer taste, or even drizzling a little melted chocolate over the top after freezing for a gourmet touch.
If you're looking to infuse some additional flavors, blending in a tablespoon of cocoa powder will turn the base into a chocolate-peanut butter dream. For a fruitier version, fold in fresh pureed strawberries or banana before filling the cups. Just remember, too much liquid can affect the freezing process, so keep additional ingredients to a minimum for the best results.
Ingredients
Gather these simple ingredients:
Ingredients
- 2 cups plain Greek yogurt
- 1/2 cup creamy peanut butter
- 1/4 cup honey (or maple syrup for a vegan option)
- 1 tsp vanilla extract
- A pinch of salt
- Optional toppings: crushed nuts, chocolate chips, or fruit slices
Once you have your ingredients ready, let's move to the next steps!
Instructions
Here's how to make these delicious treats:
Prepare the Mixture
In a mixing bowl, combine the Greek yogurt, peanut butter, honey, vanilla extract, and a pinch of salt. Mix well until the ingredients are thoroughly combined and the mixture is smooth and creamy.
Fill the Cups
Spoon the yogurt-peanut butter mixture into a silicone muffin tray, filling each cup about three-quarters full. If desired, sprinkle some optional toppings on each cup for added flair.
Freeze
Place the muffin tray in the freezer and let the cups set for at least 4-5 hours, or until completely solid. For best results, leave them overnight.
Serve
Once set, remove the cups from the silicone tray and enjoy! You can let them sit at room temperature for a few minutes to soften slightly before indulging.
Enjoy your Frozen Yogurt Peanut Butter Cups!
Pro Tips
- To enhance the flavor, try using flavored yogurt or adding a swirl of chocolate on top before freezing. These cups are best enjoyed fresh but can last up to a week in the freezer.
Storage Solutions
Once your Frozen Yogurt Peanut Butter Cups are ready, store them in an airtight container in the freezer. Ideally, consume them within one month for optimal freshness, but they can last longer if needed. If they're stored properly, they won't develop freezer burn, which can alter flavor and texture. Consider labeling the container with the date to keep track of their freshness.
To make serving easier, you can separate layers of yogurt cups with parchment paper in the container. This prevents them from sticking together, allowing for quick and easy access when cravings strike. If you accidentally leave them out too long at room temperature and they begin to melt, simply refreeze them – though the texture may become slightly different upon re-freezing.
Guiltless Indulgence
One of the best parts about these Frozen Yogurt Peanut Butter Cups is their guilt-free nature. Loaded with protein and healthy fats from the Greek yogurt and peanut butter, they provide not just a treat, but a nourishing snack option as well. This makes them an excellent choice for a post-workout treat or afternoon pick-me-up.
You can easily make this recipe vegan by swapping the honey for maple syrup, as mentioned, which maintains the sweet and satisfying flavor profile. Additionally, using a dairy-free yogurt alternative allows everyone to enjoy this fun treat, making it versatile for various dietary needs.
Questions About Recipes
→ Can I use non-dairy yogurt?
Absolutely! You can substitute plain or vanilla non-dairy yogurt to make this recipe vegan-friendly.
→ How long do these cups last in the freezer?
These Frozen Yogurt Peanut Butter Cups can last up to a week in the freezer if stored properly.
→ Can I add fruits to this recipe?
Yes! You can mix in chopped fruits like bananas or berries to add a fruity twist.
→ What's the best way to store them?
Store them in an airtight container in the freezer to keep them fresh.
Frozen Yogurt Peanut Butter Cups
Created by: The Cookcraftdaily Team
Recipe Type: Easy Baking Recipes
Skill Level: Beginner
Final Quantity: 12 cups
What You'll Need
Ingredients
- 2 cups plain Greek yogurt
- 1/2 cup creamy peanut butter
- 1/4 cup honey (or maple syrup for a vegan option)
- 1 tsp vanilla extract
- A pinch of salt
- Optional toppings: crushed nuts, chocolate chips, or fruit slices
How-To Steps
In a mixing bowl, combine the Greek yogurt, peanut butter, honey, vanilla extract, and a pinch of salt. Mix well until the ingredients are thoroughly combined and the mixture is smooth and creamy.
Spoon the yogurt-peanut butter mixture into a silicone muffin tray, filling each cup about three-quarters full. If desired, sprinkle some optional toppings on each cup for added flair.
Place the muffin tray in the freezer and let the cups set for at least 4-5 hours, or until completely solid. For best results, leave them overnight.
Once set, remove the cups from the silicone tray and enjoy! You can let them sit at room temperature for a few minutes to soften slightly before indulging.
Extra Tips
- To enhance the flavor, try using flavored yogurt or adding a swirl of chocolate on top before freezing. These cups are best enjoyed fresh but can last up to a week in the freezer.
Nutritional Breakdown (Per Serving)
- Calories: 180 kcal
- Total Fat: 10g
- Saturated Fat: 2g
- Cholesterol: 5mg
- Sodium: 70mg
- Total Carbohydrates: 20g
- Dietary Fiber: 1g
- Sugars: 12g
- Protein: 6g