Healthy Quinoa-Stuffed Peppers
Highlighted under: Light Eating Recipes
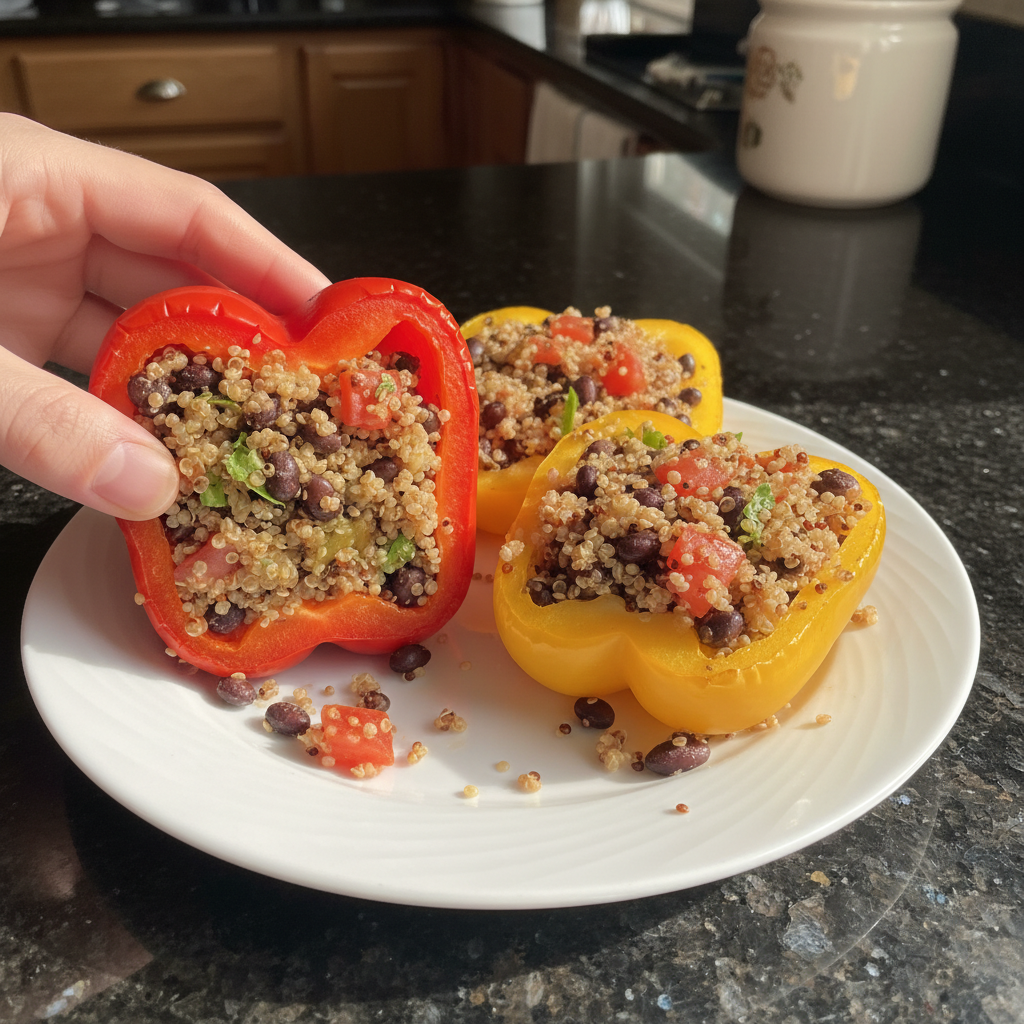
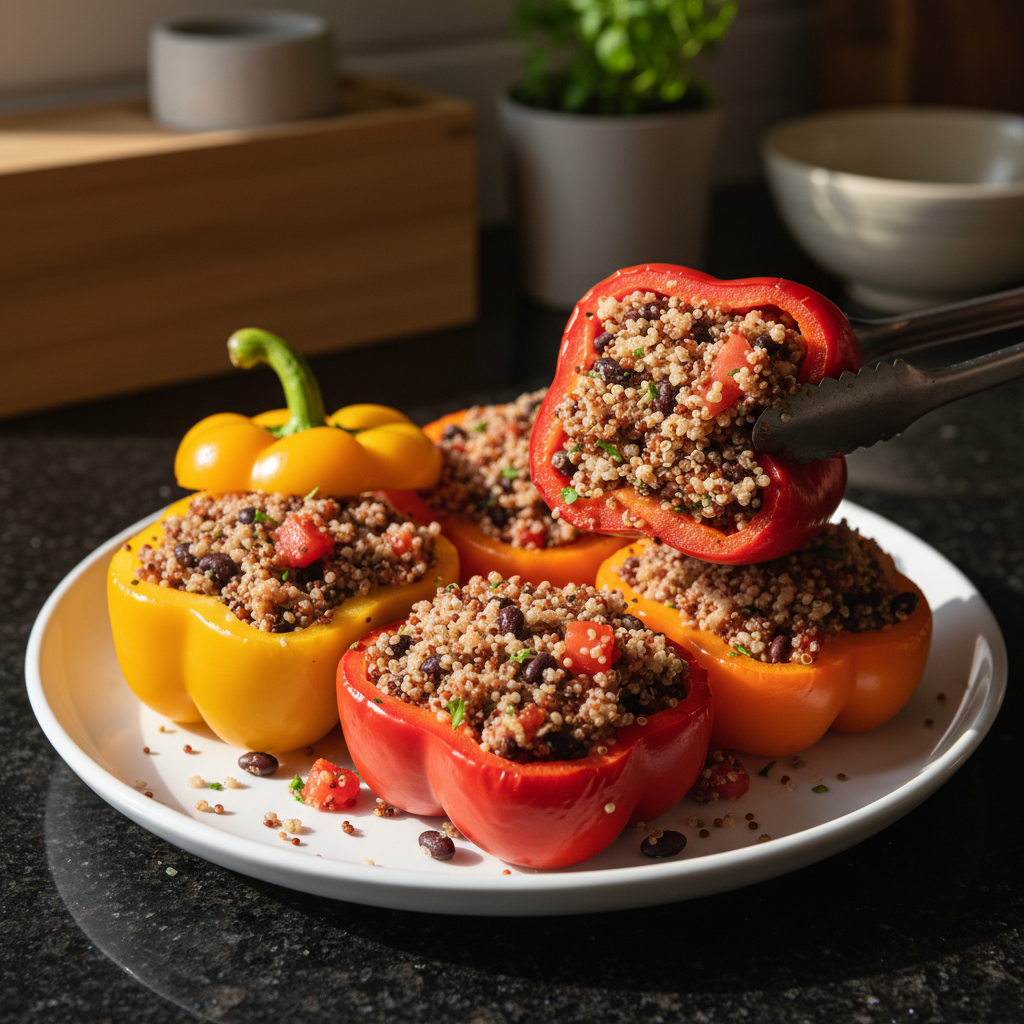
I love a dish that’s not only nourishing but also bursting with flavor, and that's exactly what these Healthy Quinoa-Stuffed Peppers deliver. When I first experimented with this recipe, I was amazed at how the combination of quinoa and vibrant vegetables could create such a satisfying meal. With the addition of spices and fresh herbs, each bite is a delightful experience. Plus, they’re incredibly versatile, allowing me to use whatever ingredients I have on hand. Whether you’re looking for a fantastic weeknight dinner or a nutritious meal-prep option, these peppers are perfect!
During one of my busy weeks, I craved something wholesome yet quick to prepare, which led me to create these Healthy Quinoa-Stuffed Peppers. I found that roasting the peppers just enough to soften them enhances their natural sweetness, complementing the savory quinoa filling perfectly. It’s a balanced meal that can be packed with flavor using just a few ingredients.
One of my favorite tips is to customize the filling according to your preferences. You can mix in beans, different vegetables, or even some cheese for an extra kick. This adaptability not only keeps meals exciting but also helps in using up leftovers, making it a sustainable option!
Why You'll Love This Recipe
- Nutritious and hearty, packed with proteins and minerals
- Vibrant colors and fresh flavors make it visually appealing
- Easy to customize, perfect for any taste or dietary preference
Understanding Quinoa's Role
Quinoa is not just a filler in these stuffed peppers; it's a powerhouse of nutrients. With its complete protein profile, quinoa provides all nine essential amino acids, making it an excellent option for vegetarians and vegans. Additionally, quinoa is rich in fiber, which helps promote a healthy digestive system. This dish becomes even more delightful when the quinoa is cooked just right—fluffy, with a slight nuttiness that pairs beautifully with the spices and other fillings.
Using vegetable broth instead of water enhances the overall flavor of the quinoa, infusing it with a depth that plain water simply cannot provide. When cooking, keep an eye on the texture; it should be tender yet slightly chewy. If you find the quinoa too mushy, try reducing the cooking time by a minute or two in your next batch, ensuring that each grain remains distinct.
Choosing the Right Peppers
When selecting bell peppers for this recipe, consider the variety of colors available. Red, yellow, green, and orange peppers have slightly different flavors; for instance, red peppers tend to be sweeter while green ones offer a more bitter note. Experimenting with various colors not only adds visual appeal but also introduces subtle flavor contrasts to your dish. If you're looking for a twist, try using poblano peppers for a slightly smoky flavor or even zucchini boats as a low-carb substitute.
Don’t forget to remove the seeds and membranes thoroughly, as these can sometimes add an undesirable bitter taste. When cutting the tops off the peppers, aim for a clean cut, and avoid cutting too deep; you want the walls to remain intact to hold the filling well. If any peppers seem to lean or wobble, slice a tiny bit off the bottom to stabilize them in the baking dish.
Storage and Meal Prep Tips
These quinoa-stuffed peppers are perfect for meal prep! After baking, they can be stored in an airtight container in the refrigerator for up to four days. I often make a double batch on Sundays to ensure I have nutritious lunches ready for the week. For portion control, consider freezing any leftovers. Wrap each pepper individually in plastic wrap and store them in a freezer-safe bag. They can last in the freezer for up to three months, making them a convenient meal option.
To reheat, simply remove the plastic wrap and place the peppers in a microwave-safe dish for about 3-5 minutes, or until heated through. If you're using a conventional oven, reheat them at 350°F (175°C) for 15-20 minutes. This way, the flavors remain vibrant, and the texture stays appealing. Keep in mind that if you're reheating from frozen, adding a few extra minutes may be necessary.
Ingredients
Gather these fresh ingredients to make your Healthy Quinoa-Stuffed Peppers:
Ingredients
- 4 large bell peppers (any color)
- 1 cup quinoa, rinsed
- 2 cups vegetable broth or water
- 1 can black beans, rinsed and drained
- 1 cup corn kernels (fresh or frozen)
- 1 teaspoon cumin
- 1 teaspoon chili powder
- Salt and pepper to taste
- 1 cup diced tomatoes
- Fresh cilantro for garnish
Ensure all ingredients are prepped and ready before you start cooking!
Instructions
Let’s get started on making these deliciously stuffed peppers:
Prepare the Quinoa
In a medium saucepan, combine the quinoa and vegetable broth. Bring to a boil, then reduce heat, cover, and simmer for about 15 minutes until the liquid is absorbed and the quinoa is fluffy.
Prepare the Peppers
While the quinoa cooks, preheat your oven to 375°F (190°C). Cut the tops off the bell peppers and remove the seeds. Lightly coat a baking dish with oil and place the peppers upright.
Mix the Filling
In a large bowl, combine the cooked quinoa, black beans, corn, diced tomatoes, cumin, chili powder, salt, and pepper. Stir until well mixed.
Stuff the Peppers
Spoon the filling into each bell pepper, packing them tightly. Top with additional spices or cheese if desired.
Bake
Cover the baking dish with foil and bake in the preheated oven for 25 minutes. Remove the foil and bake for an additional 10 minutes to lightly char the tops.
Serve
Remove from the oven and let cool slightly. Garnish with fresh cilantro before serving.
Enjoy your Healthy Quinoa-Stuffed Peppers as a delicious and nutritious meal!
Pro Tips
- Feel free to swap out the filling based on your preferences! Adding some shredded cheese on top before baking can add a nice cheesy crust.
Taste and Texture Variations
Feel free to play with the texture by incorporating different ingredients into the stuffing. Adding nuts or seeds like chopped walnuts or pumpkin seeds can introduce an unexpected crunch and extra nutrition. Cheese lovers can sprinkle some shredded cheese between layers of stuffing or on top before the final baking phase, which adds a delightful creaminess and enhances the overall flavor profile of the dish.
Herbs can also be a game changer. Fresh cilantro is a traditional accompaniment, but you might also consider using fresh basil or parsley for a different herbal note. If you want to introduce heat, finely chopped jalapeños can easily be added to the filling mix. Just remember to adjust the spices accordingly, especially if others in your family prefer milder flavors.
Troubleshooting Common Issues
Sometimes, stuffed peppers can turn out watery due to the moisture content in the tomatoes or the peppers themselves. To prevent this, consider using canned tomatoes with low moisture or draining off any excess liquid. You could also sauté the diced tomatoes in a skillet over medium heat for a few minutes before adding them to the mix; this will help evaporate some of the water before it gets stuffed into the peppers.
If you find that your peppers are undercooked by the end of the baking time, increase the bake time by 5-10 minutes while covering them with foil to ensure they do not dry out. The perfect stuffed pepper should be tender enough to pierce easily with a fork yet robust enough to hold its shape. Adjusting your oven rack to the center can also promote even cooking and proper heat distribution.
Questions About Recipes
→ Can I make these stuffed peppers ahead of time?
Absolutely! You can prepare the peppers and filling in advance, then just stuff and bake when you’re ready.
→ Are these peppers gluten-free?
Yes, as long as you use gluten-free vegetable broth, this recipe is entirely gluten-free!
→ What can I serve with stuffed peppers?
They pair well with a side salad, rice, or even crusty bread for a complete meal.
→ Can I use other grains instead of quinoa?
Yes, you can use rice, farro, or even couscous if you prefer, but adjust the cooking time accordingly.
Healthy Quinoa-Stuffed Peppers
Created by: The Cookcraftdaily Team
Recipe Type: Light Eating Recipes
Skill Level: Easy
Final Quantity: 4 servings
What You'll Need
Ingredients
- 4 large bell peppers (any color)
- 1 cup quinoa, rinsed
- 2 cups vegetable broth or water
- 1 can black beans, rinsed and drained
- 1 cup corn kernels (fresh or frozen)
- 1 teaspoon cumin
- 1 teaspoon chili powder
- Salt and pepper to taste
- 1 cup diced tomatoes
- Fresh cilantro for garnish
How-To Steps
In a medium saucepan, combine the quinoa and vegetable broth. Bring to a boil, then reduce heat, cover, and simmer for about 15 minutes until the liquid is absorbed and the quinoa is fluffy.
While the quinoa cooks, preheat your oven to 375°F (190°C). Cut the tops off the bell peppers and remove the seeds. Lightly coat a baking dish with oil and place the peppers upright.
In a large bowl, combine the cooked quinoa, black beans, corn, diced tomatoes, cumin, chili powder, salt, and pepper. Stir until well mixed.
Spoon the filling into each bell pepper, packing them tightly. Top with additional spices or cheese if desired.
Cover the baking dish with foil and bake in the preheated oven for 25 minutes. Remove the foil and bake for an additional 10 minutes to lightly char the tops.
Remove from the oven and let cool slightly. Garnish with fresh cilantro before serving.
Extra Tips
- Feel free to swap out the filling based on your preferences! Adding some shredded cheese on top before baking can add a nice cheesy crust.
Nutritional Breakdown (Per Serving)
- Calories: 320 kcal
- Total Fat: 8g
- Saturated Fat: 1g
- Cholesterol: 0mg
- Sodium: 330mg
- Total Carbohydrates: 55g
- Dietary Fiber: 12g
- Sugars: 6g
- Protein: 10g